Checklist
We Offer Services in London and Hampshire, West Sussex, South West Surrey, East Wiltshire.
Important Service Requirements
Property & Appliance Eligibility
Service is available only for domestic properties (no commercial or LPG appliances).
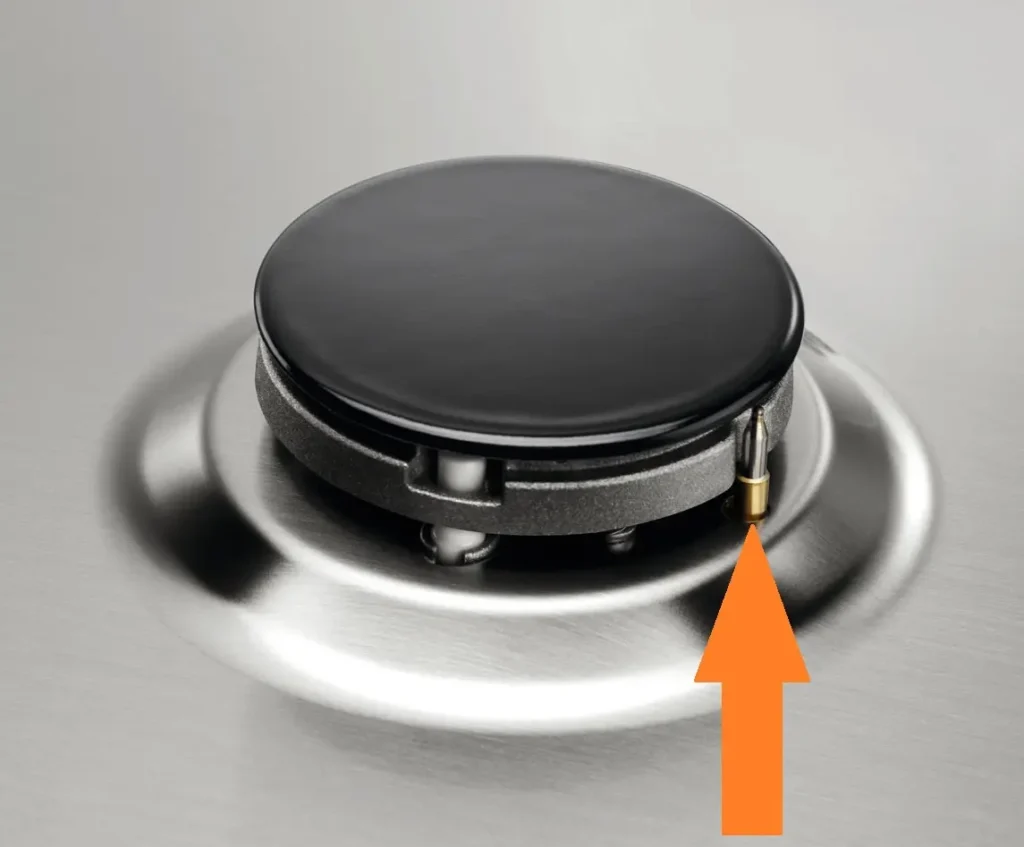
Appliances must include a Flame Supervision Device (FSD) as required by UK regulations.
A natural gas supply must be available and live.
Safety & Installation Conditions
The property and appliance must be in safe and hygienic condition.
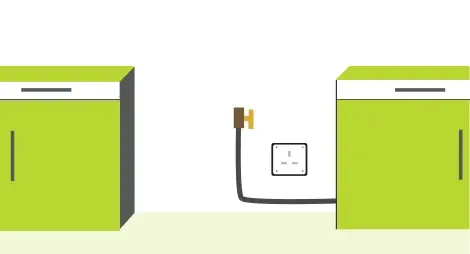
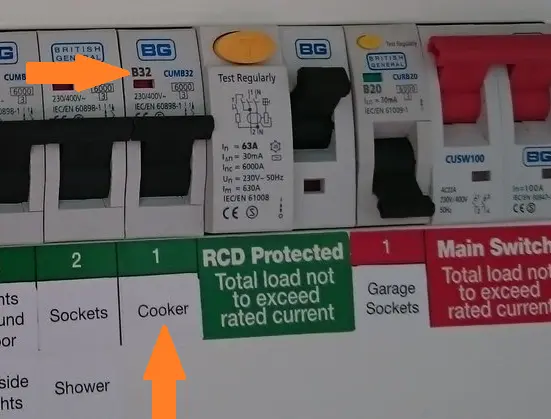
There must be a suitable gas and/or electrical outlet for connection.
Appliances must fit correctly in the installation space.
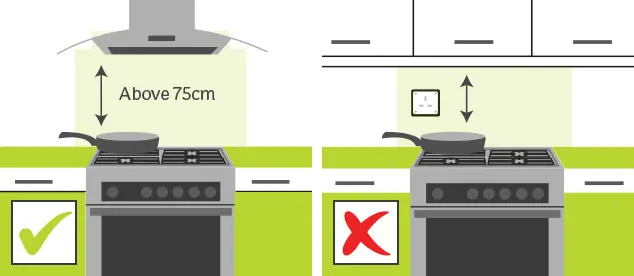
If a cooker hood is present, there must be at least 76 cm clearance above the hob.
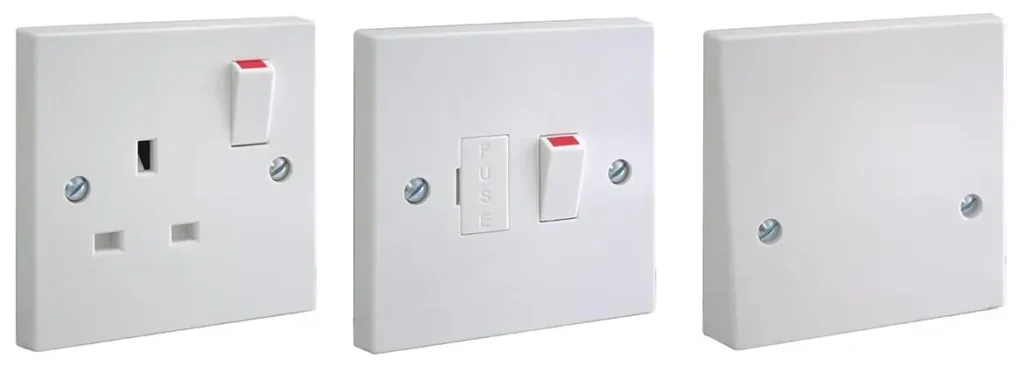
Electrical outlets (switches/sockets) directly above the cooker/hob must be safely blanked off.
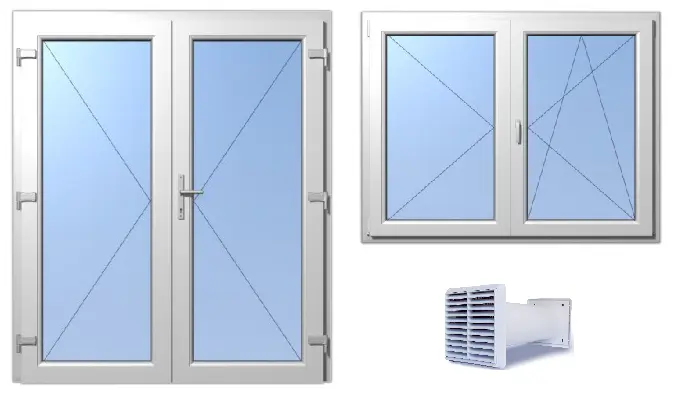
Adequate ventilation is required in the installation room.
The appliance must not be damaged and must include all necessary parts.
Property Access & Customer Responsibility
Easy access to the property and/or a working key must be provided.
The customer must be present and arrive before the engineer.
The customer must answer phone calls/text messages from our team prior to arrival.
Any applicable fees (e.g. parking, Congestion Charge, or ULEZ) must be paid on-site.
The booking must be made within our coverage area.
What We Do Not Provide?
No carpentry or plumbing work.
No services if cupboards or combustible materials are directly above the cooking space.
Why These Requirements Matter?
These conditions are in place to:
Ensure safety during installation and use.
Guarantee compliance with UK gas safety regulations.
Allow our engineers to complete the job efficiently on the first visit.
Final Checklist Before Your Appointment
Property is clean, safe, and accessible
Appliance is suitable and complete (with FSD)
Correct gas and/or electrical connections are available
Adequate ventilation is present
Customer is present at the property and reachable
Book a Safe Gas Appliance Service
We’re committed to providing a safe, reliable, and professional service for your gas appliances.
By following the checklist above, you’ll help us complete the job quickly and safely.
Book your gas installation or service today and ensure your home is ready for our engineer.
We will need to disconnect your gas supply, however Local Gas will not be responsible for any appliance that fails to restart, including central heating and gas boilers.
Buying a Second-Hand or Used Gas Cooker? Check for FSD First
Why the Flame Supervision Device (FSD) Is Important
When buying a second-hand or used gas cooker, safety should be your top priority. One of the most important features to check for is the Flame Supervision Device (FSD), also known as a Flame Failure Device (FFD).
An FSD is a built-in safety system that:
Detects if the flame is accidentally extinguished.
Automatically cuts off the gas supply to prevent leaks.
Protects your home from dangerous gas buildup.
👉 Simple rule: No FSD = No Installation.
If your cooker doesn’t have an FSD, a registered engineer will not legally be able to install it. In fact, many companies will apply a £100 cancellation fee if you book an installation without checking.
What the Law Says About FSD in Gas Cookers?
Since May 2010, UK regulations require that all new cookers with gas burners must be manufactured with an FSD.
All gas cooking appliances installed in flats, apartments, or multi-dwelling buildings must be fitted with an FSD.
Any new gas cooker you buy today should already comply with these regulations—unless you’re buying very old stock or a second-hand model.
⚠️ If you are buying a used or second-hand gas cooker, it is your responsibility to check whether it has an FSD fitted before arranging installation.
How to Check if Your Cooker Has an FSD?
Look at the manufacturer’s manual or specification sheet.
Ask the seller directly whether the cooker has an FSD.
Contact the manufacturer with the model number.
Speak to a Gas Safe registered engineer before arranging installation.
Why Installers Refuse Non-FSD Cookers?
Gas engineers are legally bound by safety regulations. Installing a gas cooker without an FSD in a flat or multi-dwelling property is against the law. Even in single homes, most engineers will not install a cooker without this safety feature.
By checking in advance, you save:
✅ Time
✅ Money
✅ The risk of a failed installation and cancellation fees
Step 1: Check Your Gas Connection Before Installing Your Cooker, Hob, or Oven
Ensuring a proper gas connection is crucial before installing your gas cooker, gas hob, or gas oven. Follow these guidelines to confirm a safe and compliant setup.
Gas Connection Requirements
Before installation, verify that there is a live gas supply within one metre (100 cm) of the desired location in the same room.
⚠️ Note: Having gas central heating does not automatically mean you have a gas supply for your hob, cooker, or oven. Always check the specific gas point.
What We Offer
Our professional service includes:
Connecting your gas cooker, hob, or oven to an existing gas pipe within one metre (100 cm).
Installation is carried out from an easily accessible live gas point.
What This Service Does NOT Include
Changing or relocating existing gas pipes to a different location.
Connecting gas from hard-to-reach or inaccessible points (e.g., behind kitchen units or under floorboards).
LPG gas connections, including red or blue cylinders outside your house or bulk tanks supplied by your gas provider.
Commercial gas connection services.
💡 If you need to reallocate your existing gas connection, we provide a fixed-price service. Contact us for details.
Materials and Parts Supplied
Our local gas engineers will supply all necessary parts and materials, including:
Isolation valve
Back plate
Bayonet socket
Gas hose and chain
Copper pipe
Washer
Soldering flux
Lead-free solder wire
All parts and materials required for a professional and safe installation are included.
Electric Cooker, Oven, and Hob Connection Guide
Electrical Connection Requirements for Cookers and Hobs
When installing an electric cooker, hob, or oven, ensuring proper electrical connections is essential for safety and performance. The switch controlling your appliance must be easily accessible, and a suitable electrical connection should be available within 1 metre of the appliance’s intended location. Connections should not be positioned directly above the appliance to avoid hazards such as burns or cable damage.
Distance Requirements from Electrical Accessories
To maintain safety around cooking appliances:
A minimum horizontal distance of 100mm (10cm) should be maintained between an electrical accessory (socket outlet, switch, or control unit) and the edge of a freestanding cooker or hob.
Electrical accessories must not be installed immediately above the cooker or hob. This prevents accidents caused by reaching over the appliance or damage to flexible cables.
Electric Cooker Connection for Appliances Consuming More Than 3kW
For high-power appliances (consuming over 3kW), such as electric ovens, hobs, and cookers, a hard-wired connection is required.
Our Service Includes:
Connecting your appliance using 6mm or 10mm heat-resistant flex cable to the connection unit.
Installation of a double pole switch with fuse ratings of 32A or 45A.
Connection service between the connection unit and the appliance only.
Not Included:
Supply or installation of the cooker connection unit (unswitched cooker outlet plate).
Upgrading the fuse.
Rewiring or replacing the cable between the fuse box and cooker connection unit.
Fuse and Circuit Requirements
Max Demand and Diversity for Household Cookers:
The first 10A of rated current is fully considered.
30% of the remaining current is added.
5A is added if a socket outlet is incorporated in the control unit.
Example Calculation:
Induction Hob: 8kW
Electric Double Oven: 8kW
Total Load: 16kW
Total Current: I = P/U = 16,000W / 240V ≈ 66.66A
Demand calculation:
First 10A: 10A
30% of remainder: (66.66 – 10) × 30% ≈ 17A
Socket outlet allowance: 5A
Total = 32A (if a socket outlet is included)
Identifying 32A or 45A Cooker Switches:
Look for a large red isolation switch within 2m of your appliance.
Must not be directly above or behind the hob.
If you cannot identify this red switch, a connection service cannot be offered.
Checking Your Fuse Box:
Fuse size should be B32 or B45, marked clearly on the fuse.
The circuit should indicate COOKER, HOB, or OVEN.
Connection service cannot be provided if these markings are missing.
Electric Cooker Connection for Appliances Consuming Less Than 3kW
For low-power appliances (under 2.99kW), such as small ovens or portable cookers:
Our Service Includes:
Connecting your appliance to a 13A socket using a suitable cable and plug.
Installation includes a 13A fuse.
Not Included:
Replacing the unswitched cooker outlet plate with a 13A socket.
Upgrading or changing the fuse or socket.
Rewiring the cable between the fuse box and socket.
Identifying 13A Sockets:
Look for a white isolation switch within 2m of your appliance.
Should not be located directly above or behind the hob.
Connection service cannot be provided if the white switch cannot be identified.
Step 2: Check Ventilation
According to Gas Safe regulations, the room where your gas appliance will be installed must have adequate ventilation. This includes:
A door or window that opens directly to the outside, or
A permanent ventilation opening.
Proper ventilation ensures safe combustion and prevents harmful gases from building up.
Keywords: cooker ventilation, gas appliance ventilation
Step 3: Check the Environment and Space
Before installation, ensure the area around your hob or cooker is safe and compliant. Consider the following:
1. Avoid Combustible Materials
Do not place appliances near flammable items such as:
Wallpaper or wood paneling
Fabric wall coverings or curtains
Shelving, switches, boilers, or alarm sensors above the hob
2. Confirm Clearance and Space
Make sure the appliance fits the designated area with enough clearance.
Check the product specifications of your hob or cooker.
3. Electrical Safety Requirements
Electrical accessories (sockets, switches, control units) must be at least 10 cm from the edge of the cooker or hob.
A horizontal distance of 100 mm from any electrical accessory is recommended for safety.
Avoid placing electrical items directly above the appliance to prevent burns or cable damage.
Keywords: cooker clearance for installation, safe hob installation, electrical safety cooker
Step 4: Prepare Your Phone and Be Ready on Service Day
To ensure a smooth installation:
-
We will call or text 30 minutes before arrival. Make sure your phone is on and has signal.
-
Our engineer will wait 10 minutes after the first call. If there’s no response, the booking will be cancelled.
-
Late arrivals may incur a charge of £2/min if our engineer must wait.
Tip: Being ready helps complete your installation on time and avoids extra fees.
Keywords: cooker installation service, on-time engineer arrival
Step 5: Protect Our Engineer from Pets
While we love dogs, for safety reasons:
Lock your dog in a separate room during service.
Do not allow pets to roam freely until the installation is complete.
This ensures a safe environment for both your pets and our engineer.
Keywords: pet safety during service, safe home installation
Summary
By following these steps, you ensure:
Safe and legal cooker or hob installation
Proper ventilation and clearance from hazards
Compliance with electrical safety standards
Smooth service experience with no delays
Do you have any questions?
Bookings can only be made online. Prices and service descriptions are available on our website.
If you have any questions, please click ‘Contact Us’ and we will get back to you within 1 hour.